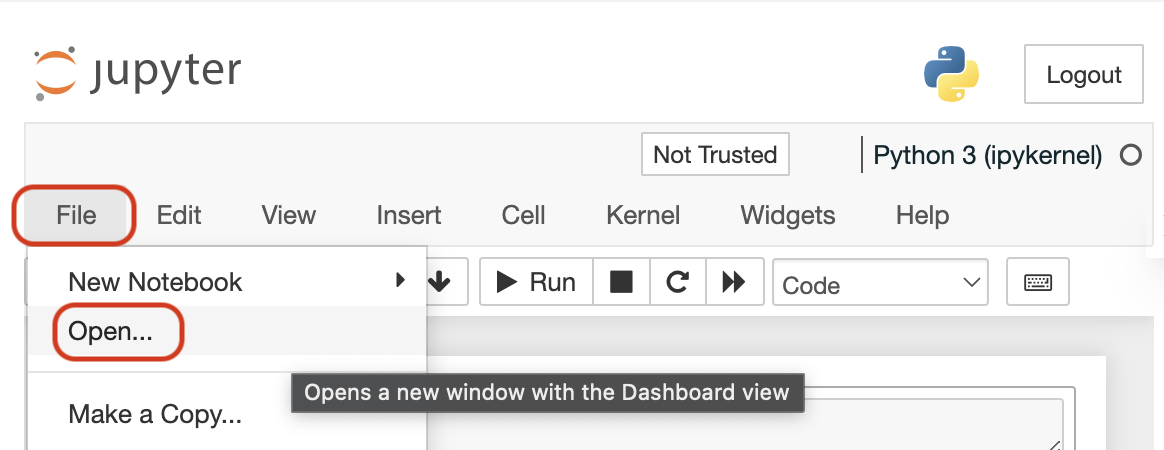
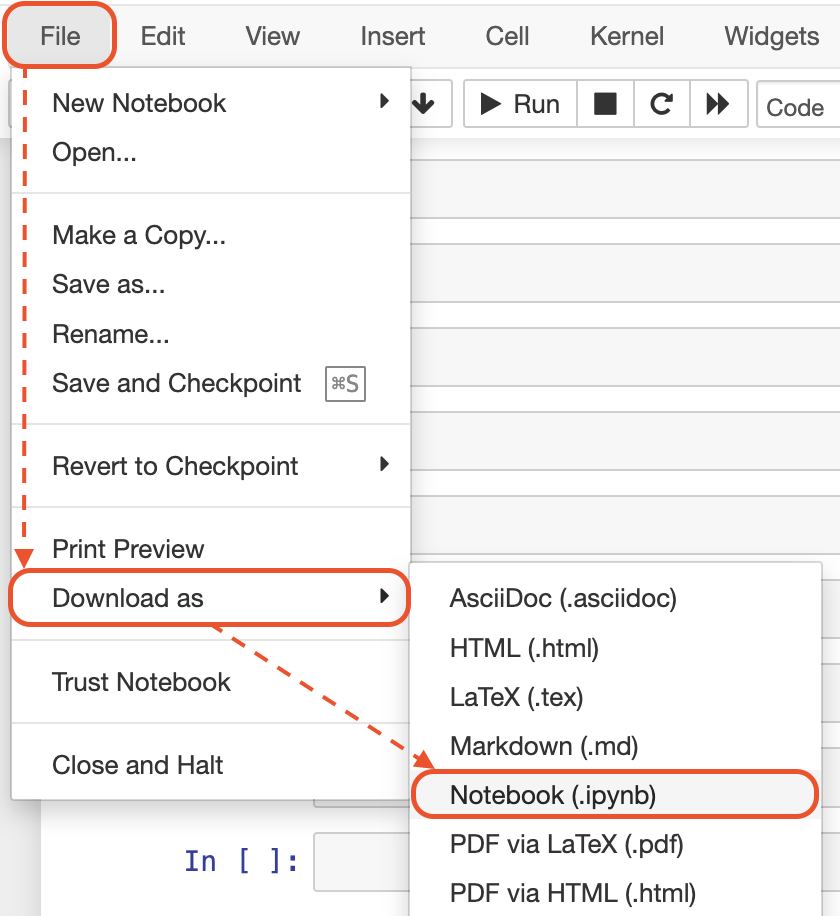
Welcome to lesson three. Now, before we get into ACP, we're going to need an agent to create an ACP-compliant agent. So in this lesson we're going to be building our very own retrieval augmented generation agent with a particular focus on insurance coverage. This is going to form the basis for the agent that we eventually wrap inside of ACP. Before we get into any ACP, we actually need an agent to convert to an ACP-compliant agent. So we're going to start out by building our very own RAG agent with CrewAI. This is pretty straightforward, but we're going to take it step by step nonetheless. So first up what we need to do is bring in a couple of dependencies. So from CrewAI we are going to import a crew and this forms the basis for the architecture of a multi-agent system. We're going to have a single agent, but we kick things off using the crew itself. We're then going to be able to define a task. And this is where we're going to pass through a prompt as well as our desired output. So effectively our task contains everything that we actually want to do. We're also going to bring in an agent. And this is going to be our LLM plus our tools and that brings us to our LLM. We're going to bring that in as well. So we've got our LLM provider to be able to create an agent. Now, the nice thing about building a Retrieval augmented generation system is that a number of providers have made it a lot easier to go and chunk up and vectorize your data. So we are going to do exactly that. The nice thing about CrewAI is that it comes with a RAG tool. So let's bring that in. So we're going to have from Crew AI tools. We are going to import the RAG tool. So this RAG tool is going to facilitate us building up a RAG system. So if I go and run that that is now all run successfully. Now, there are a couple of warnings when you go in ahead and run this. So we're just going to ignore them for the time being. And to do that, we are going to import warnings and we are going to filter warnings and ignore those. This means that we're not going to get any unnecessary warnings that we don't necessarily need. The next thing that we're going to need is an LLM. Right? So retrieval augmented generation is all about having a vector database and querying that vector database, bringing back the context, passing it through the LLM, and generating the output. To generate that output, we're going to need an LLM. So let's go ahead and bring that in. So I'm going to define a new variable called LLM. And that is going to be equal to a LLM class that we brought in from CrewAI. So to define that, I'm going to create a new LLM. And we're going to specify the model. I'm going to set that to OpenAI GPT-4. But you could use a range of other providers. You could use OLlama. You could use WatsonX.AI You could use a ton of other providers. This is just the one that we're going to be using for this example. So if you want plug in a different one, see what actually happens. So the next thing that you're going to need to do is define how many maximum tokens you want to allow our LLM to generate. So to do that we're going to specify Max tokens. And set that to 1024. So if you'd like your LLM to be able to generate more, or agent to be able to generate more, you could bump that up. Likewise, if you want to be a little bit more conservative with how many tokens you're generating as part of your agent system, you might choose to bump that down. Okay. So that is our LLM now created. Now to build up our RAG tool we first up need to define a bit of config. So let's go ahead and do this. So I'm going to create a new dictionary called config. And this is going to contain our LLM as well as the embedding model that we want to go and use. And this specific config is all for our RAG tool that we imported from CrewAI. So we need to define what LLM we're going to use to generate output. And we need to define what embedding model we're going to use to embed our chunks as well. So let's go on ahead and define this. So we're going to define a new key called LLM. And within that dictionary we are going to have two values: provider and config. Our provider is going to be equal to OpenAI in keeping with the theme. And the specific model that we're going to be using Is going to be contained within the config key. And we're going to set that equal to model. And you guessed it GPT-4. Now we've talked about that LLM. But we really need an embedding model as well. This is what is going to take the chunks from our document and convert them into a method that we can search inside of our vector database. So we are going to create a new key called embedding model and then we're going to specify another provider and again we're going to set it to OpenAI. And then we need our config. So we're going to specify config. And this time we're going to specify the embedding model that we want to use here. So we're going to set that equal to model. And then the value that we set to model is going to be text- embedding-ada-002. So this is the config that you're going to use for your ad tool over here. But again feel free to update this if you need to. So I'm going to run this. That's our config now defined. Now so far we've gone and set up our config. We've set up our base LLM. We need to go and define our RAG tool now. So again, CrewAI has got a RAG tool that you're able to use to be able to go and define this and build up your agent system. So we're going to create a new variable called RAG tool. And we're going to set it equal to RAG tool or an instance of RAG tool. And then to that we're going to pass through three different values. So we're going to pass through the config. And we're going to pass through the config dictionary that we just defined up here. We're also going to specify the chunk size. And we're going to set that into chunks of 1200 tokens. So this means that we're going to be chunking up our document into chunks of 1200. And we probably want a little bit of overlap just to make sure that we're not cutting off channels in the incorrect places. Or places which aren't so ideal. Now, that's our RAG to sort of define, but we also need to add a document to that. So how do we actually go about doing that? Well, I've got a document over here. And this is going to be stored inside of the same environment that you're running. So you'll be able to access this. This is a PDF document about potential insurance inclusions. Now this agent that we're going to be defining is going to be all to do with finding out what's included potential waiting periods on insurance. So we need to provide a document which contains that specific information. So it's almost like a product disclosure statement for an insurance policy. Now we want to get this into our RAG tool. So how do we go about doing that? So the first thing that you're going to go ahead and do is define this RAG tool. Obviously. But the next thing that you want to go ahead and do is actually add that document to the vector database. So we are going to go and use the add method from our RAG tool. And specifically add in that document. This is going to be contained inside of the environment that you work in. But again if you want to do this locally you've got an update this path to the document that you want to embed and load into your vector database, aka your RAG tool. So, to the add method, we're going to pass through the file path for our document. This is currently stored inside of the root folder and then inside of data. And then we are going to define the specific name of the file which is Gold Hospital and Premium extras dot pdf. So if you've got a different file name, you would go in and update the file name for the document that you're working with. Right over here. We also need to define the data type. So we're going to specify the data type. And we're going to set that equal to PDF file over there. So if we go and run this, this should start chunking up our document and push it into our vector database. And that looks like it's run successfully. So we've gone and defined our LLM. You've gone and defined your config. You've got a RAG tool. Now, when are we going to define the agent? Well, it just so happens we're going to do that now. So in order for you to define your agent, we're first up going to define a variable which is going to contain the agent and then you need to go and use the agent class which we had right up there. So we're going to define a new agent. And this is going to contain a few things. But this is kind of why I like CrewAI. Because it's very verbose in how you go and build one of these agents. The first thing that we need to define inside of our agent: is the role. And this is the role that agent is going to take. Now keep in mind we're going and loading a product disclosure statement for an insurance policy. So we are going to have a senior insurance coverage assistant here. So that's going to be the role for our agent. Now we also need to define the goal. So we're going to specify our goal as determine whether or not something is covered or not. And this is all to do with whether or not something is covered within your insurance. It might also talk about waiting periods so on and so forth. Really, it's all to do with the information contained within that PDF. And then we want to go ahead and define a backstory. This is probably my favorite key. And so the back story in this particular case is going to be you are an expert insurance agent designed to assist with coverage queries. So you can say that we've now gone and defined our backstory. Now we also need to define a few more things. So you're going to go and set verbose equal to true. This means that as our agent is running, we're able to see active progress. You're going to set allowed delegation to false. This means that we're not going to be passing off the task to other agents. You're also going to pass through your LLM over here. So this is the LLM that we defined up there it's the OpenAI GPT-4 instance. But we also need to pass through our RAG tools. Because so far we've gone and defined it, but we haven't actually given it to our agent over here. So under tools, we're going to create a new list. And we are going to pass through our RAG tool that we've now gone and defined. And the last thing that we need to define in order to create our agent is the maximum retry limit. So we're going to define that. And set that equal to five. This basically states that our agents are going to try to get the answer at least five times. And if it doesn't then it's going to error out. So this means that it's again a bit of an insurance policy that you don't go and blow out your number of API calls. So if we go and run that, that looks like our agent has now successfully run and we will not necessarily run, but we've now gone and defined it. The next thing that we need to do, is define a task. And this is going to contain our prompt. So inside of our prompt or a prompt is going to be encapsulated inside of our task that we've got over here. So let's create a new task. So we're going to create a variable called task one. And this is going to be an instance of the task class from CrewAI. And now a task has a couple of key things inside of it. A description, the expected output, and the agent that we want to delegate this particular task to or give it to. So the description, the first prompt that we're going to be passing through is: what is the waiting period for rehabilitation. Now, again you might go and try a different prompt there. You might choose to try something which you see in this document. If you go and use a different document, this is where you'd go and pass through your specific prompt. We then want to define the expected output. So inside of your expected output we are going to set that as a comprehensive response to the user's question. You might choose to change this a little bit. It might be a summary might be bullet points. You're effectively describing. This style here. Now remember, the last thing that you need to define inside of your task is the agent that you want to give this prompt to. So we're going to define that right over here. So we're going to specify the agent as the insurance agent. Remember, we define the insurance agent over there. It's now coming into our task down here. Now if we go and run this task, that cell has now completed successfully. So now to find our agent we've now defined our task. We now need to encapsulate it all inside of a crew and then kick it off. So how do we do that? Well, remember when we went and imported our dependencies we imported a crew. So we're going to define a new instance of our crew and we are going to pass through a few key things here. We need to pass through the agents themselves, the tasks, if we had multiple tasks, we'd pass through multiple tasks. We also want to specify that it's going to be verbose. So inside of our crew we're going to define our agents. And this is going to be a list. And right now we've only got one agent. But if you had multiple agents you'd pass multiple through. I think for now, we're just going to have one single agent over here. We're then also going to have the tasks that we want our agent to complete. For now, we're just going to have task one. If we had multiple tasks, we would pass them in through here as well. And we're going to set verbose equal to true. That way again we get output progress as our agent is running. Then all that's really left to do is kick off our task. So to do that, we are going to create a new variable called task output. And we are going to take our crew from over here and run the kick-off method. This is akin to like running the crew or actually starting things, or when you hit enter in ChatGPT or hit enter inside of an LLM system like our Llama. So that should get everything up and running. The last thing that we want to do is print out our final task output. So if we go and run this, this should hopefully kick off your RAG agent and get your agent running. So if we go and run it, take a look. You can see crew execution has started. We've gone and passed through the prompt to our agent. You can see that we've got our chunks from our RAG system. And if we scroll a little further down, take a look. We've got our final answer displaying over here. So the waiting period for rehabilitation coverage under this insurance policy is two months. However, if the requirement for rehabilitation is due to a preexisting condition, the waiting period extends to 12 months. It's important to consider this information can vary on the specifics a situation, so on and so forth. You get the idea. The answer is now. Here. So again, we've got a bit of metadata. And you can see this is the output from actually printing through the actual task output from over there. So if we wanted to go and push this to a different system, if we wanted to output to a JSON document or something of the sort, we've got the ability to work with that final output as well. But again, keep in mind you can go and change this prompt. So you might choose to change this query over here. You might choose to change your insurance agent or even change the data that you pass through to your RAG agent. But for now, we've gone and defined our initial RAG agent.