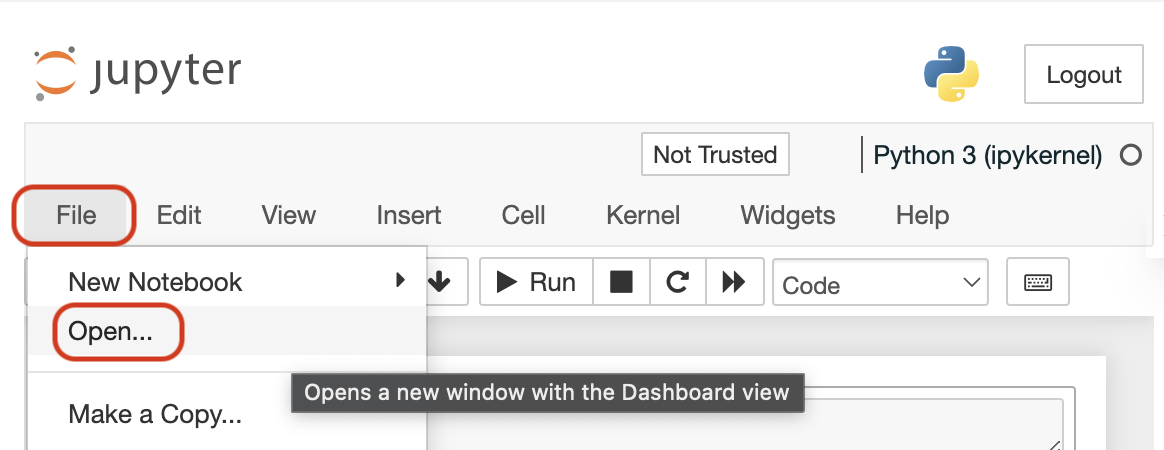
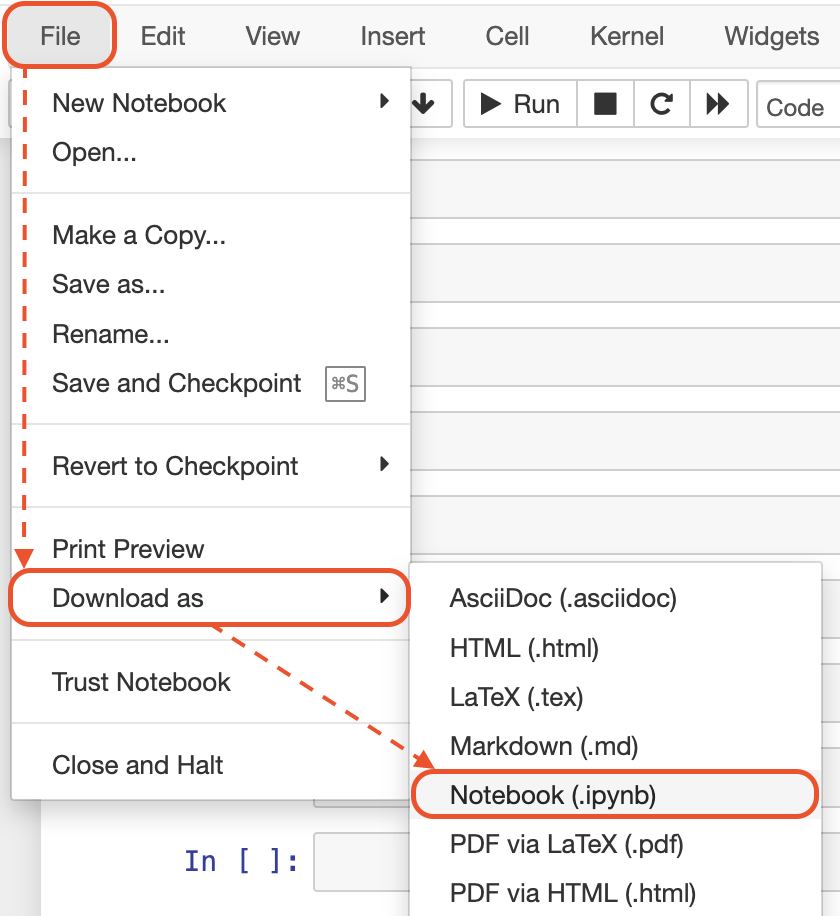
In this lesson, you will build your first pipeline, a simple airflow Dag using just three airflow specific modules. Once you've built it, you will explore it and run your Dag manually in the airflow user interface. Let's get to it. For this and the following lessons. You have a fully functional airflow environment available to you. Run this first cell to get the link to your airflow Environments UI. When you click the link, it will open the airflow UI in a new tab where you can log in with airflow as the username and password. Once you've logged in, you'll land on the homepage of your airflow environment. This page contains a couple of quick links, as well as the current health status of the different components of the airflow environment. Note that the trigger component is not running in the sandbox. Since we do not need it for this course. Lastly, the homepage shows recent history of runs of Dax and tasks in your airflow environment. For now, these steps are still empty. A little bonus tip when you click on the user button in the bottom left corner, you can switch the UI to dark mode. If you prefer to do so because it is easier to follow in a video, we'll stick to light mode for the course. Great, you have a running airflow environment. Let's briefly go over the airflow components that make it possible for you to run pipelines. The components running in this environment are the Airflow Metadata Database, which is about all information important for airflow functioning, such as the status of tasks are stored. The scheduler, which is the heart of airflow, which makes sure all DAGs and tasks run in the correct order. The API server, which accomplishes several tasks. The two most important for you right now, being that it serves the airflow UI for you to interact with and acts as the interface between workers and the airflow metadata. Database workers are the airflow components that actually run your tasks in airflow free. They can't directly interact with the metadata database anymore, like an airflow tool, and use the task execution interface of the API server instead. And lastly, one component that is running in this environment is the Dag processor. It passes you Dag files and writes a serialized version to the airflow metadata database. Let's add a first airflow Dag for the Dag processor to pass, and then add to your environment. The simplest way to add DAGs to airflow is by defining them in individual Python files in a specified location. Among your airflow projects files, usually in a top level folder called DAGs. In this notebook environment, you can use cell magic to write the contents of one notebook cell to a Python file in the docs folder of your actual project. The magic command used is called write file. This command is specific to the learning environment here in a regular airflow project. You must create a new Python file in the docs folder, and then add your code to it directly in airflow. Pipelines are represented by DACs, and a DAC can be created by writing a regular Python function and decorating it with the exact decorator imported from airflow dot SDK. Every task instantiated in the context of this function is automatically added to to that. Right now the DAC is empty. Let's add a task. You could turn any Python function into an airflow task by using the add task decorator. My task one is a very simple function that just returns a small dictionary you can use at task to turn this function into an airflow task, and then assign the output of the call task function to an object to use it downstream. Next, you can define my task two in the same way. This task accepts one argument called my dict, and prints the value of one key in the dictionary. When calling this task function, you can pass in the output of the first task to my dict. So the second task will print airflow to the logs. Feel free to change the value of my word in this dictionary to a word of your choice. Let's run this cell to save this Dag in the dags folder. Airflow stack processor component automatically checks the DAGs folder for new DAGs and adds them to the airflow UI. In this environment, it does so every 30s. So let's check back in the airflow UI within the next 30s. We should see our dog show up in the airflow UI. You can see all your tags on the docs page, which you can access using the second button in the sidebar. And there it is, your first Dag. Click on the Dag name to get to the Dag overview page. From here you can access all the information about your DAC from its structure over run history to all logs of tasks that have run. It looks a little empty right now. Let's manually run this stack. Click on the blue trigger button in the top right corner, and then on trigger to create a manual run of your Dag. Make sure the unpause My first Stack on trigger checkbox is selected as pass stacks cannot run. Pause the video now and run your first stack. You can run it as many times as you want. Let's create at least three runs. Nice. You now have some background history. Each of the bars represents one previous run of this Dag, and each square a task instance, one run of a task in those Dag runs. You can access the logs of your tasks by clicking on the squares. Here you can see that this run of my task two printed airflow to the logs. Aside from this overview of previous Dag runs called the Airflow Grid, you can also see the graph of your airflow Dag in the UI. Clicking on the graph icon below the deck ID, you can see the two tasks in the stack. By default, DACs are read from left to right. In this case, my task one needs to complete successfully before my task two can run. But in the options menu, you can change this behavior. For example, if you prefer to see the tasks from top to bottom, let's add a third task to the stack that runs as soon as my task one has completed successfully. Back in your notebook, you can add another task. I'll just call it my task three and add one simple print statement. Now how can you make this task run after my task one? In the case of my task one and my task two, airflow automatically inferred the dependency based on the result of my task one being used in my task two. But my task three does not take any arguments. You'll have to define the dependency explicitly to do so. Import the chain function from the airflow SDK. Chain defines explicit dependencies here between my task one and my task three. After running the cell, the DAC file is updated in the Dax folder and within the next 30s, the Dat will be updated in the airflow UI. You can call your task any name you'd like. The name of the function that you decorate with at task will be the name of the task inside of airflow. Also, feel free to run more than a simple print statement in your function. Airflow can execute any Python code. Awesome. Let's explore the three task Dag in the airflow UI together. You can now see that a third task was added. It depends on my task one and runs in parallel to my task two. This is one of the great advantages of our flow. You can run many tasks in parallel as soon as their requirements are met. You can also see that the latest stack version got updated to me too. Airflow automatically keeps track of structural changes to your deck. This feature called Dag versioning was added in airflow three. You can look at past versions of your doc graph by selecting them in the options menu. Additionally, the code tab where you can view but not edit the code of view that also lets you look at the code of previous stack versions. All right, now you know everything you need to turn your Python code into tasks in an airflow deck. Let's practice by adding a second back to this environment. Copy the first cell and change the file name in the magic command and the name of the attack decorated function, which is the dag id. It is important that the doc ID of all of your DAGs in an airflow environment is unique. Beyond that, you are free to create your own deck with as many tasks as you'd like. I chose to create a Dag with four tasks that does a little math. Note that the change function in this stack defines a slightly more complex dependency structure. The first element passed to the chain function is a list containing two objects that each reference a task. The second element is a single task. Two dependencies are created one between my task two and my task four, and another one between my task three and my task four. These two dependencies are added to the dependencies already inferred by airflow, based on data being passed between tasks. My task one and my task two are upstream of my task three due to inferred dependencies. Note that you can also define dependencies between two lists of tasks, as long as the lists are of the same length, and that you could add as many arguments to the chain function as you need. Once you are ready, run the cell to save the file to the docs folder, and after 30s max, it will show up in the airflow UI where you can create as many Dag runs as you'd like and explore the back. If you make structural changes such as adding or renaming a task in between runs, you will create several versions of your Dag. All right, I'll leave you to experiment once you feel confident in creating these simple DAGs. You can go to the next lesson where you will take the code from the Jenny AI workflow prototype in the previous lesson and turn it into two airflow DAGs.